Add Paid Licenses to Chrome Extensions
In this tutorial we'll show you how to monetize your Chrome extensions by adding paid licenses.
But First, Can You Really Monetize Chrome Extensions?
Is it even worth it to add payments to your extension? Do people pay for browser extensions?
In our research we've found that yes, people are willing to pay for Chrome extensions.
In the article 8 Chrome Extensions with Impressive Revenue we not only list extensions made by developers that make impressive recurring revenue, but also list companies that have made or raised billions of dollars with extensions.
And in our own experience, the extensions using extensionpay.com have generated tens of thousands of dollars in revenue for their creators!
Paid Licenses with ExtPay.js
In this tutorial we'll use the open-source ExtPay.js library to add paid licenses.
ExtPay is a library that integrates with Stripe to allow payments directly in extensions. It lets you charge customers globally, take one-time and recurring payments, add free trials, and it works across all browsers. Instead of license codes, it lets your users log in with an account to use extensions just like in other apps they use.
Normally, to add paid licenses in Chrome extensions you'd have to create a server that coordinates installed extensions with user licenses, as well as a way to take payments and associate that information with user licenses. You'd then need to have the extension call the server endpoint to check if the user's license is valid before enabling paid features.
Using ExtPay.js, all of that is taken care of for us automatically. To enable paid features in your extension, you'll simply need to use a couple lines of code:
const extpay = ExtPay('your-extension-id')
extpay.getUser().then(user => {
    if (user.paid) {
        // code to enable paid features goes here
    }
})
Keep reading for how to set this up.
Register for an Account
In this tutorial we'll use the ExtPay sample extension. This is a very simple extension that demonstrates how to use ExtPay to enable paid-only features.
To get started with ExtPay.js, you’ll need to sign up for an ExtPay account. It’s free and takes just a few seconds.
Register a Test Extension
After you register for an account, you’ll need to register a test extension.
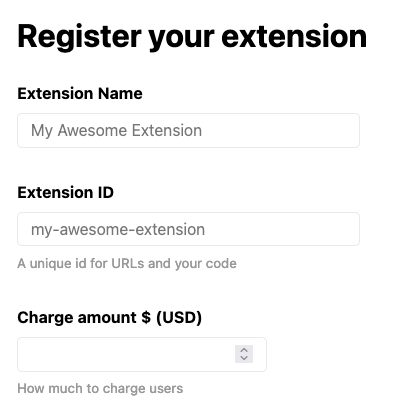
Enter any extension name, extension ID, and charge amount you’d like — this is just to see how ExtPay works. You can always register a new extension later if you want to change anything.
Download and Edit the Sample Extension
Next, download the sample extension here (or view it on Github). Unzip the directory to anywhere on your file system (the Desktop would be one good place). You'll end up with a folder that's called sample-extension-mv3 by default.
Open the background.js and popup.js files in a text editor. Look for this line near the top of each file:
const extpay = ExtPay('sample-extension')Change the text sample-extension to the test extension ID you registered.
Install the Sample Extension in Chrome
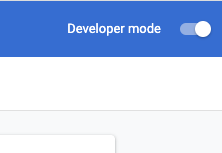
Finally, open a new tab in Google Chrome and enter the URL chrome://extensions/. This is the page where you can manage your current extensions.
To install an extension from your computer (instead of the Chrome Extension store), you'll need to turn on Developer Mode. To turn on Developer Mode, flip the switch in the top right corner of the chrome://extensions/ page:
When developer mode is on, you’ll see a button in the top left of the page with the title Load unpacked :

Click the Load unpacked button and choose the sample-extension-mv3 folder you saved on your filesystem. Now the sample extension is installed in development mode in Google Chrome.
Test Payments with ExtensionPay (without actually paying)
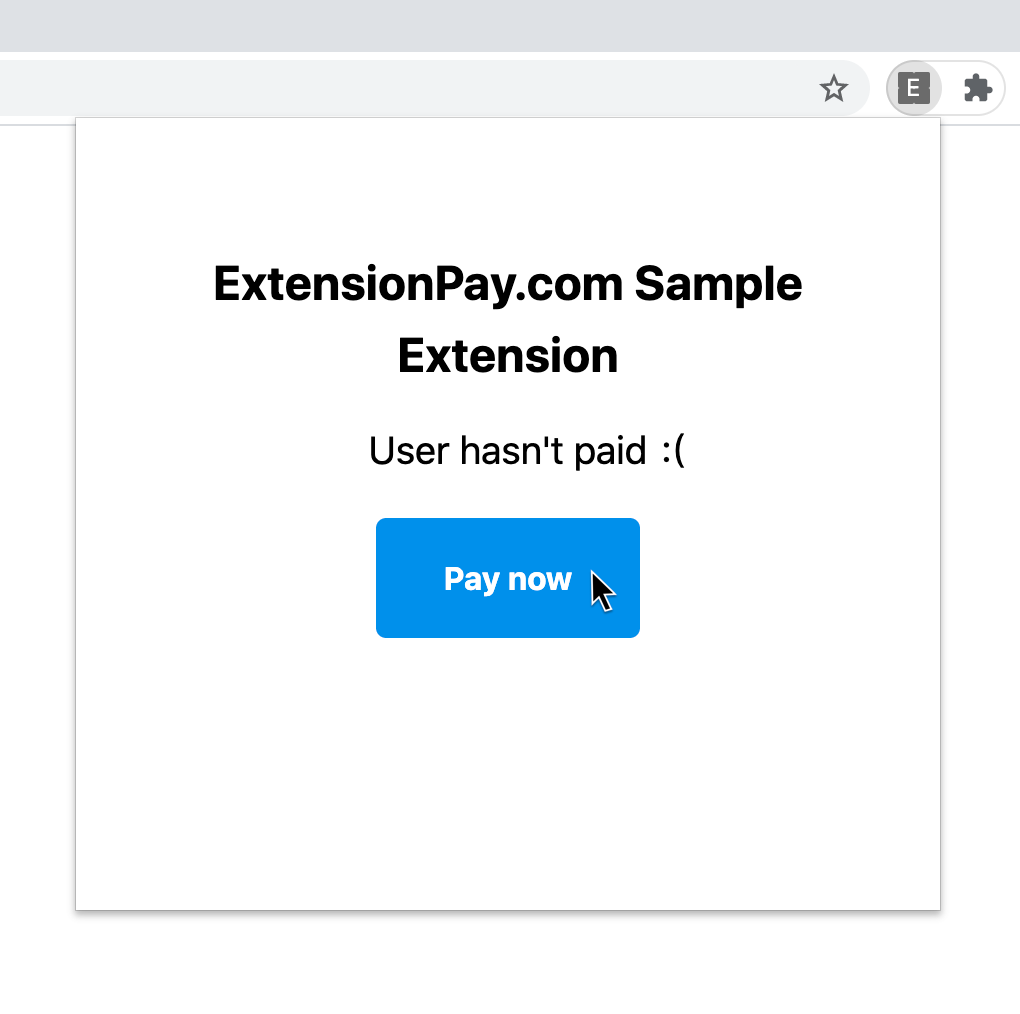
Now that the extension is installed you can try it out! Open the extension’s pop-up in the extension menu and click the Pay Now button.
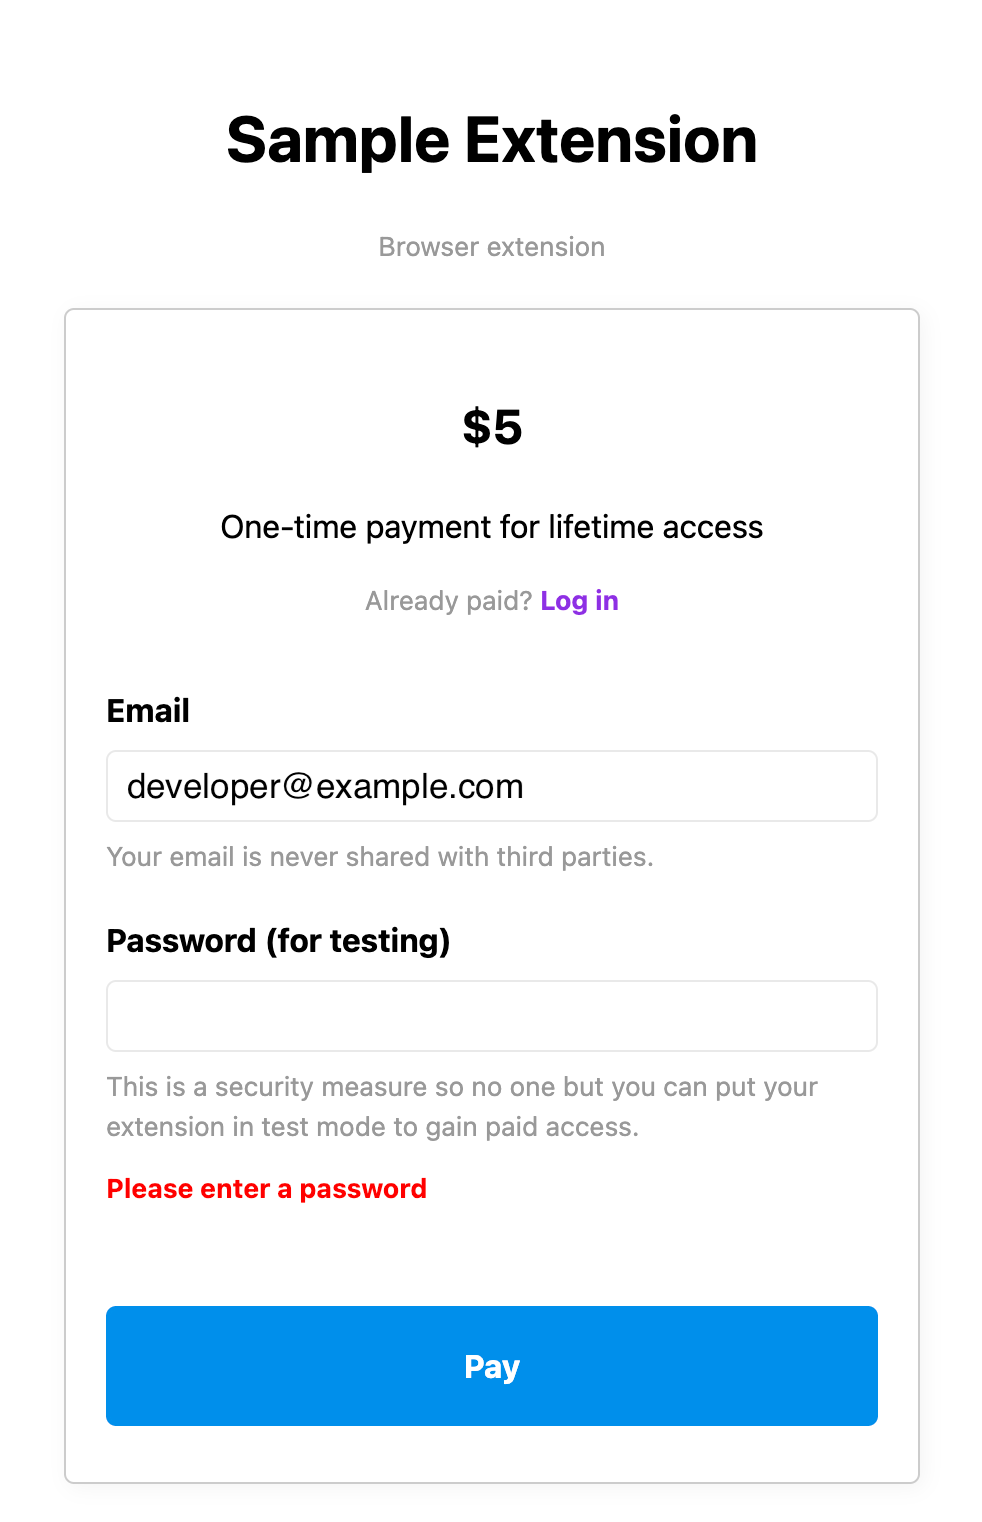
In the payment form you can enter your ExtensionPay email and submit the payment form with blank payment information. You’ll be asked to enter your ExtensionPay password as a security measure.
Once you enter your password and click Pay, your extension will show that you’ve paid:
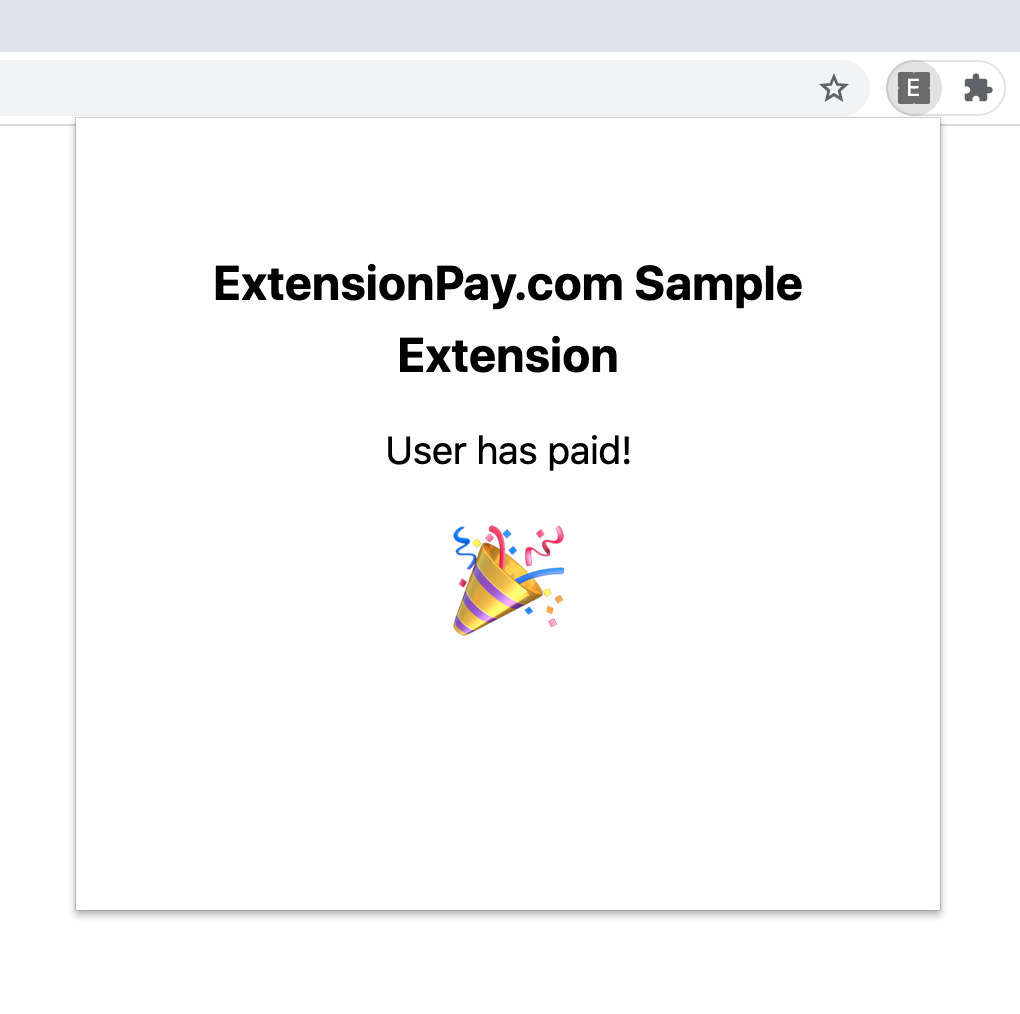
No need for license codes — your user pays and their features are instantly activated.
Now Add Paid Licenses to your Own Extension
The sample extension is extremely simple — it basically lets a user pay and then shows that they’ve paid. But that’s not very interesting!
To monetize your own Chrome extension and add paid licenses you can change the sample extension or use the ExtPay.js library in your own extension. The API is extremely easy to use but it lets you create many types of payment schemes — one-time, monthly, yearly, freemium, premium, free trials, etc.
To find out more about adding paid licenses you can view the full ExtPay.js documentation or find out more at ExtensionPay.com.