Add Stripe Payments to Chrome Extensions
Stripe is one of the most popular payment processors in the world. It allows businesses and developers in more than 45 countries to take payments from anywhere around the globe.
It’s also known for its well-designed API which makes it relatively easy for developers to integrate payments into a variety of apps with any programming language they like.
Stripe, therefore, is a natural choice to monetize Chrome extensions. In this article we’ll see how we can use Stripe and the open source ExtPay.js library to add paid features to extensions.
What is ExtPay.js?
ExtPay.js is one of the simplest ways to monetize Chrome extensions. It’s an open-source library that integrates with the ExtensionPay service and Stripe. It provides an API for Chrome extensions to check a user’s paid status and enable paid features accordingly. The ExtensionPay service takes a small fee whenever a user pays but is otherwise free to use. We’ll see why we think that’s an acceptable trade-off below.
Why use ExtPay.js?
One downside of using Stripe for payments is that it requires running a server — a computer connected to the internet that only the developer has access to. Chrome extensions are JavaScript programs that run on a user’s computer which means they can’t use Stripe directly.
So in order to accept payments, Chrome extensions have to communicate with an intermediate server that then communicates with Stripe.
As you might imagine, maintaining a backend server for extensions can be a bit of work and cost. It requires a database for keeping track of user accounts and paid statuses on your server, backend code to sync your database with Stripe and communicate with installed extensions, sending confirmation emails, maintenance and security, and so on. The server itself also usually costs a minimum of $5 per month depending on the technical specs.
So to avoid the cost and time to develop a backend server we’ll use ExtPay.js which provides all this for us.
Adding Payments to your Extension
In this tutorial we’ll follow a few steps that are pretty straightforward:
- Signing up and registering an extension on ExtensionPay
- Installing the extension in development mode and testing payments
- Setting up a Stripe account
1. Signing up and registering an extension on ExtensionPay
The first step is to sign up for an account on ExtensionPay. It just requires a valid email address and password.
Next, we’ll need an extension to add payments to. In this tutorial we’ll use the ExtPay sample extension — it includes the ExtPay.js library and all the code needed. Download the extension here.
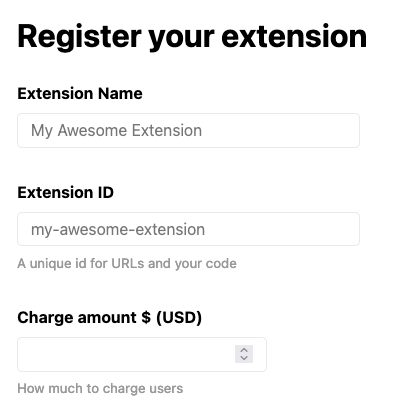
In either case, you’ll need to register the extension with ExtensionPay. Here’s the link to register an extension (you need to be logged in). You can enter any extension name and price or frequency you want — they can be changed later.
After you’ve registered an extension, we’ll change a little bit of code in the sample extension.
In background.js and popup.js look for this line:
const extpay = ExtPay('sample-extension');Change sample-extension to the id of the extension you registered and save both files. That’s all we need to do to test out the payment experience.
2. Installing the Extension
Next you’ll need to install the extension in your browser. In this tutorial we’ll use Chrome, but you can easily find instructions online for how to install extensions in developer mode in your browser of choice.
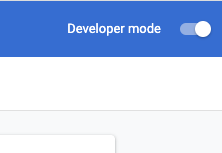
When you’re testing out an extension, you need to have developer mode turned on. You can do that by visiting the url chrome://extensions/ and flipping the “Developer mode” switch in the top right corner of the page:
When developer mode is on, you’ll see a button in the top left of the page with the title Load unpacked:

Click Load unpacked and choose the folder where your extension is saved. This is how you install extensions while testing them.
Testing Extension Payments
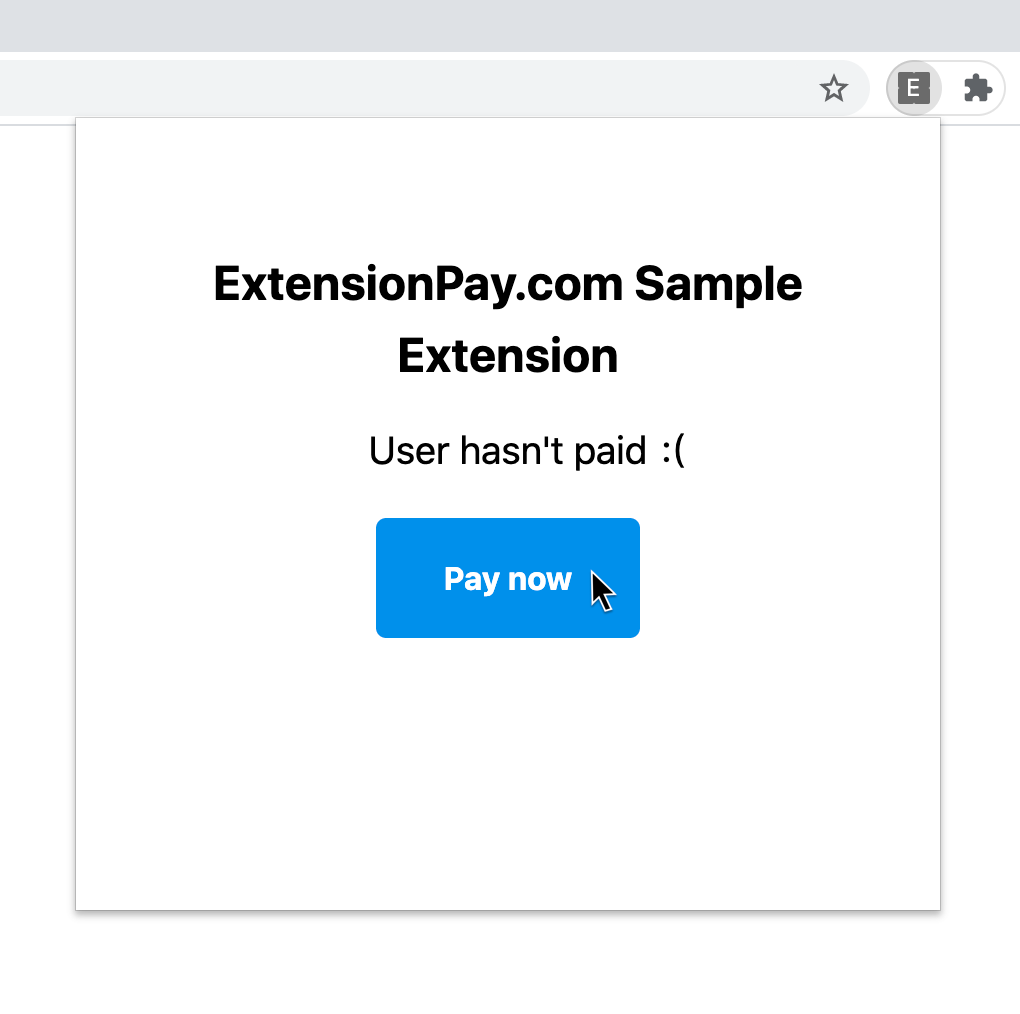
Now that the extension is installed you can try it out! Open the extension’s pop-up in the extension menu and click the Pay Now button.
A payment window will appear. If you submit the form with blank card information and the email address you signed up with, you’ll see a password field:
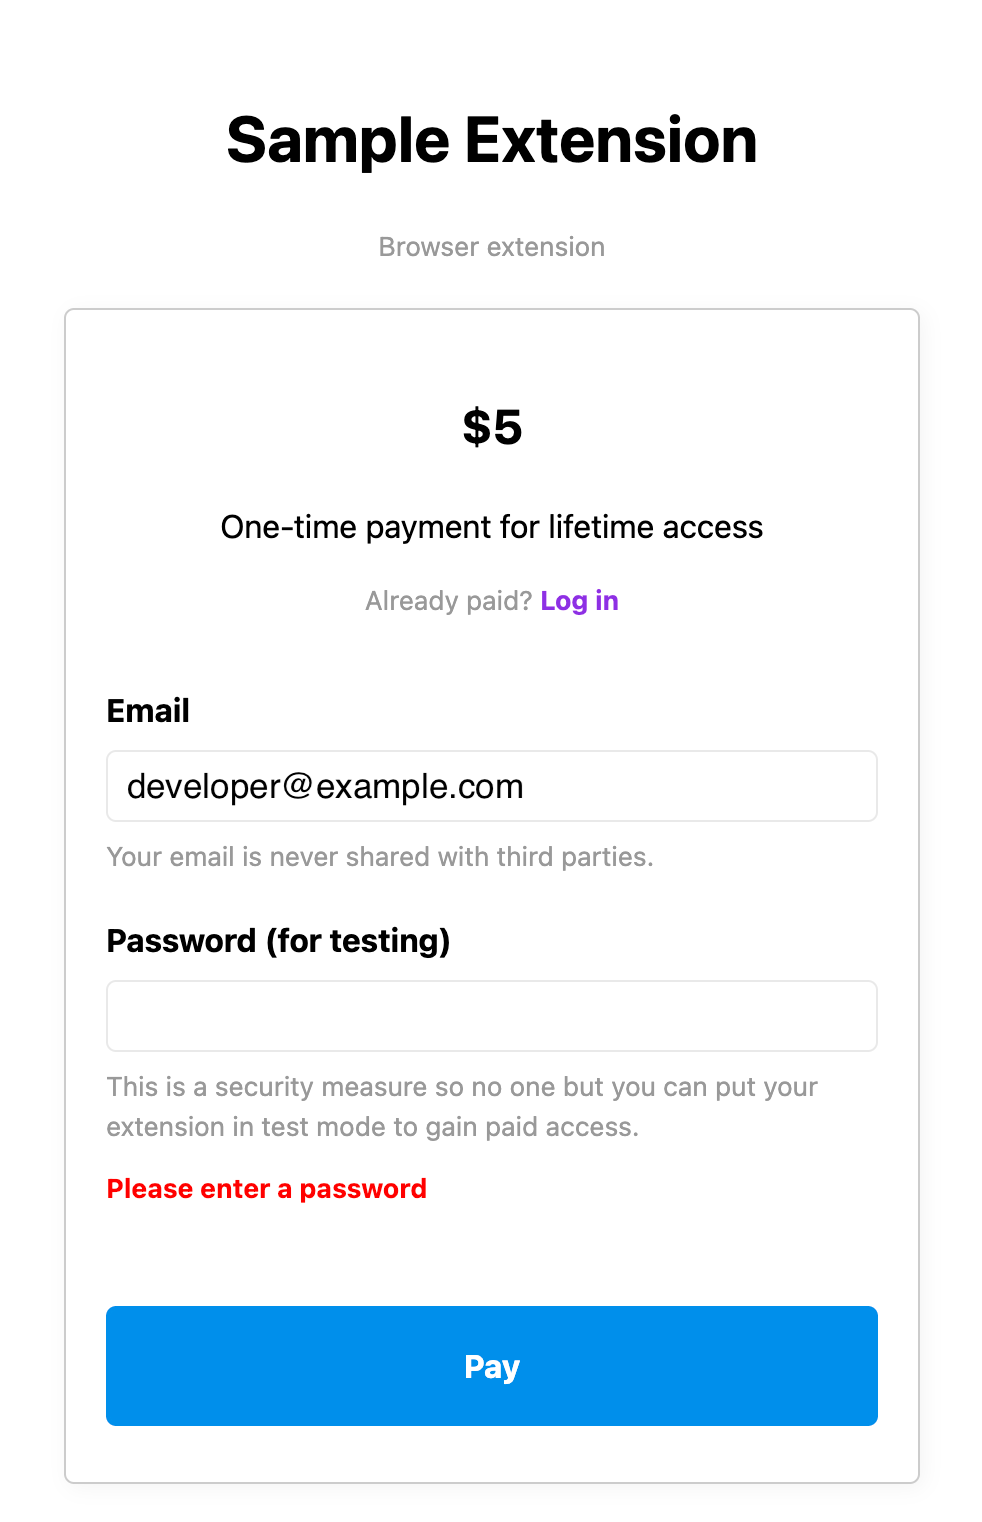
Enter your ExtensionPay password and click the Pay button. This is how you simulate paying users while in test mode.
If you open the extension popup again you’ll see this:
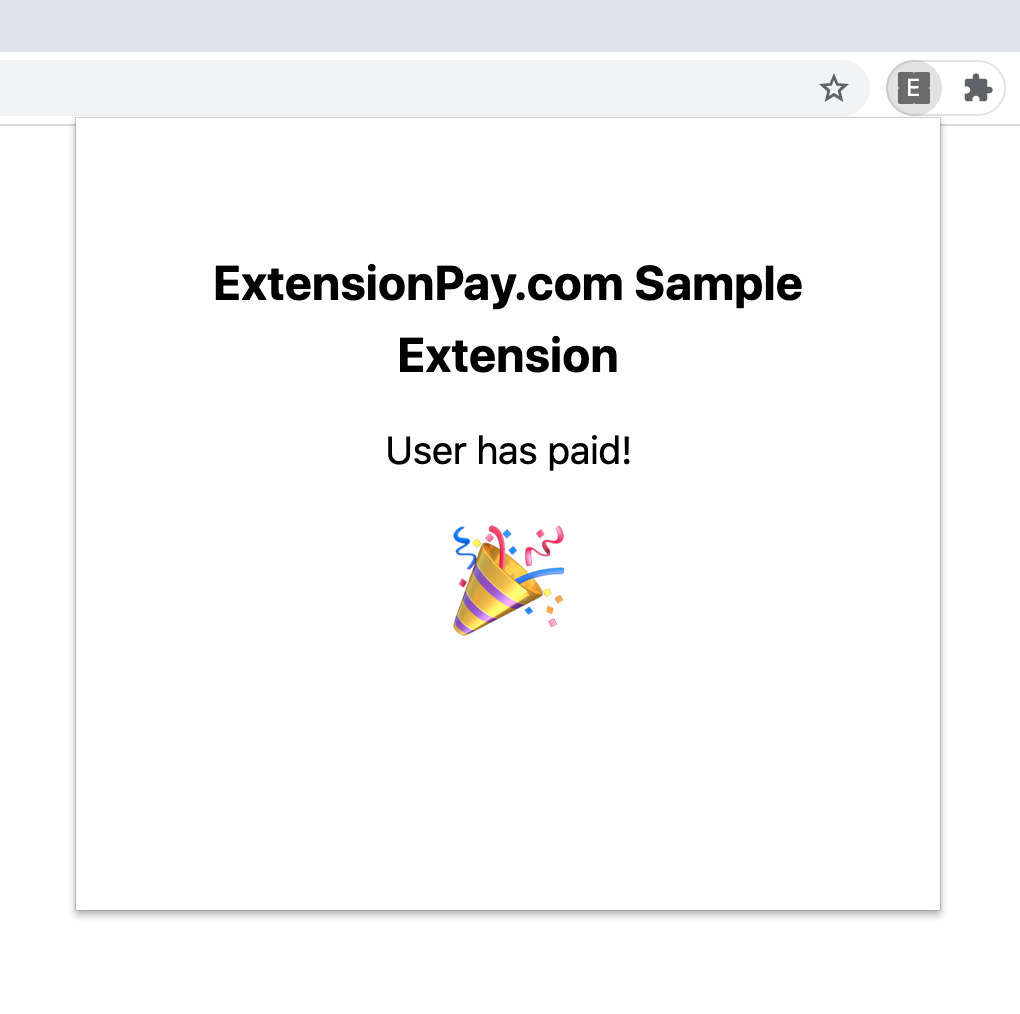
This is the basic process for adding payments to an extension. When you deploy an extension to the Chrome store (not in developer mode), real payment information is required for users to access paid features. A user’s payment information will be available in Stripe after they’ve paid.
3. Setting up a Stripe account
From the ExtensionPay home screen you’ll see a link to create an account with Stripe. This will take you through the standard Stripe account creation process and return you to ExtensionPay when you’re done. Note that it can take several hours or even days to verify some of the personal information that Stripe requires before you can accept payments.
Once your Stripe account has been verified, ExtensionPay automatically integrates Stripe payments into the extension we created above.
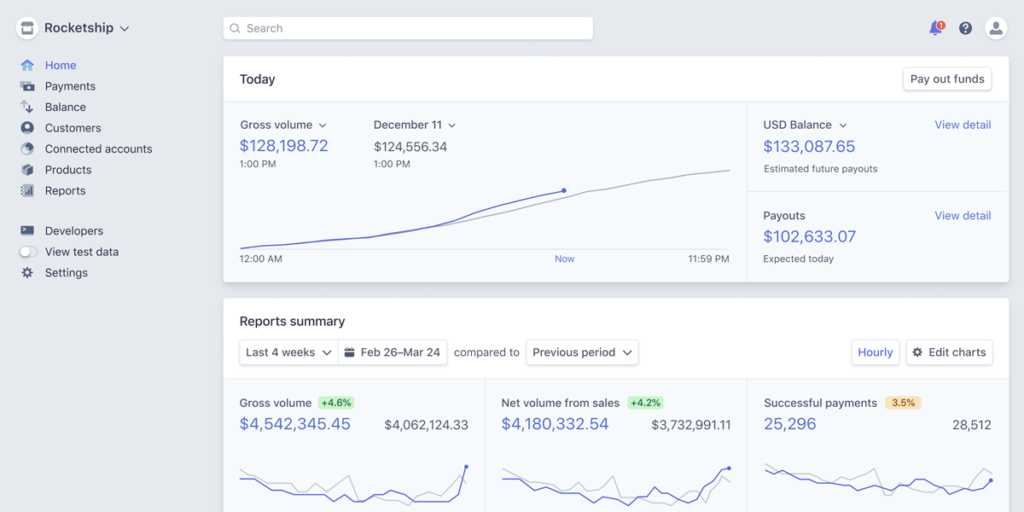
You’ll also have access to the Stripe dashboard. Any payments in your extension (outside of test mode) will show up here and you can do all the normal things like look up customers and issue refunds.
Integrating ExtPay into Your Own Extension
You can see the code for checking if a user has paid is very simple:
extpay.getUser().then(user => {
    if (user.paid) {
        // ...
    }
})
The code for opening the payment page for a user to pay is even simpler:
extpay.openPaymentPage();These two pieces of code are really all that’s needed for payments to be added to your extension. You can also add subscription payments, free trials, logins for when users reinstall extensions, post-payment hooks, and more, all using ExtPay.js. Pretty nifty huh?
Check out the ExtPay.js documentation to see everything that ExtPay can do.
Finally, Can Chrome Extensions Really Be Monetized?
Many developers wonder whether their users will actually pay for their Chrome extension. In our research we can happily report that users are willing to pay for Chrome extensions if they’re valuable. For example, here are 8 Chrome Extensions with Impressive Revenue.